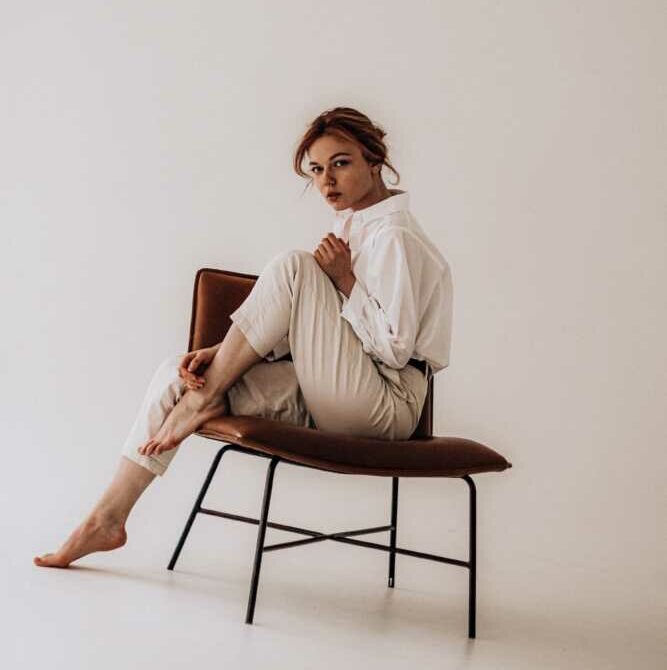
THE hair have always been considered the best instrument of seduction for a woman. Long or short it doesn't matter from the hair you can know everything about yourself, for this a look neat is able to make you feel more beautiful, in order and more at ease in every situation ... even the most absurd.
In other words to feel more safe, sexy and in good spirits there is nothing better than that to take care of of your own hair. In this thehairstyle and the makeup they are the backbone of yours look. After all, you could meet yours charming prince at any time, even while taking the dog for a walk and woe to be found sloppy and untidy.
But to have hair always in order you should live h24 with a hairdresser, count on him for your every whim or have the opportunity to go to the salon every day. Unfortunately not all of them are so lucky, you want to lack of time you want to manage the budget weekly change look every day is a stress.
However in the digital age to be able to count on advice "of style"Is always easier and thanks to web tutorial every woman is able to remedy an impromptu exit "last minute"Preparing for the best.
This address book born with this intent: to offer practical advice for a look always impeccable starting from hair and in particular from thehairstyle. Today we offer an elegant tutorial, simple and easy to make in 5 steps: the Twisted Bun Chignon.
Follow all the steps and the result is guaranteed!
Step 1
Wash your hair using one non-aggressive shampoo, you must minimize the risk of skin irritation or the "heavy hair" effect, the Mimì Colonna hairdresser recommends a product from the line Milk_Shake (link) perfect for every occasion because they are fresh and with a pleasant fragrance.
Remember to use a conditioner after shampooing (link), the choice between mask, mousee or spray is up to you. In this way comb your hair it will be easier, then proceed with blow drying in a natural way.
Step 2.
Create two sections with a simple central line. There is no need to be precise in the subdivision, indeed, an asymmetrical effect could bring a feeling of "Announcements"And make it all more"stylish“.
Step 3
Tie with a node the two sections of hair between them and fix them with gods "ferrettini" clasps or alternatively with "invisible" clips, in doing so thetwisted effect will begin to take shape.
Step 4.
Wrap the rest locks around the base, fix with clips and use a "blow"Of spray lacquer to give a sense of"cleaning”To the hairstyle. For the choice of the lacquer the Mimì Colonna hairdresser advises you Lifestyle of the line Milk_Shake than with his pleasant fragrance it does not dry the hair and makes it again workable but compact to the touch.
Step 5.
Hide the remaining tips of the strands with clasps, still use some lacquer to prevent the tips in questions from rising and hiding the hair shorter on the inside, leaving the longer and / or bulky on the outside (depending on your cut). To make precious all add some clip or light point in theme "Swarosky"And you're done!
__________
And what do you think? You are ready to try this tutorial?
Let us know with a comment on our social channels or taggandoci on your profile!
__________
Do you find our articles interesting but need more information? Then contact us, our experts are at your disposal.
Follow us on our official social networks
Facebook - Twitter - Youtube - Instagram - Telegram


